Tuesday, April 30, 2013

Custom Texture stone and concrete wlls.

 I chose a concrete wall and decided to make a hand painted stone wall. The concrete wall i decided to darken the bolts that was in the wall. I gave it some lines and i brought the opacity down a little bit. I made a couple of selections with the Marquee tool and i filled it in  a different color. I then gave the reddish selection Bevel and emboss, and i gave it a stroke.I also decided to give it curves,levels,hue and saturation. The stone wall i made i drew a bunch of lines to make different shapes of rocks. I made another layer and gave it a cloud filter. I also gave it levels, curves, and color balance. I made another layer and gave some shadow where the rocks meet. I also gave it stroke,bevel and emboss. I made another layer and i used it to paint my rocks different colors.

Thursday, April 25, 2013

Brick wall texture part 2

 I made some selections wth the marquee tool and i used the paint bucket tool to fill in my selections, i also put them on a seperate layer and called it"red bricks". I used layer styles to give it more of a textured look. I used stroke,bevel and emboss. I also put a few more cracks in the bricks.

Tuesday, April 23, 2013

Creating a brick wall texture

I was trying to go for having some cracks in the brick. The first thing i did was i chose a darker color grey and then i used a hard round brush. I made the brush size as small as i could get it and then i made some lines down the cracks. I made sure to make the lines different so it would look more life like. I would make lines from left to right diagonally and then from right to left diagonnally. I would also make sure that the lines are a little crooked because i don't remember actually seeing straight cracks in a wall.

Tuesday, April 16, 2013

Creating Custom Brushes

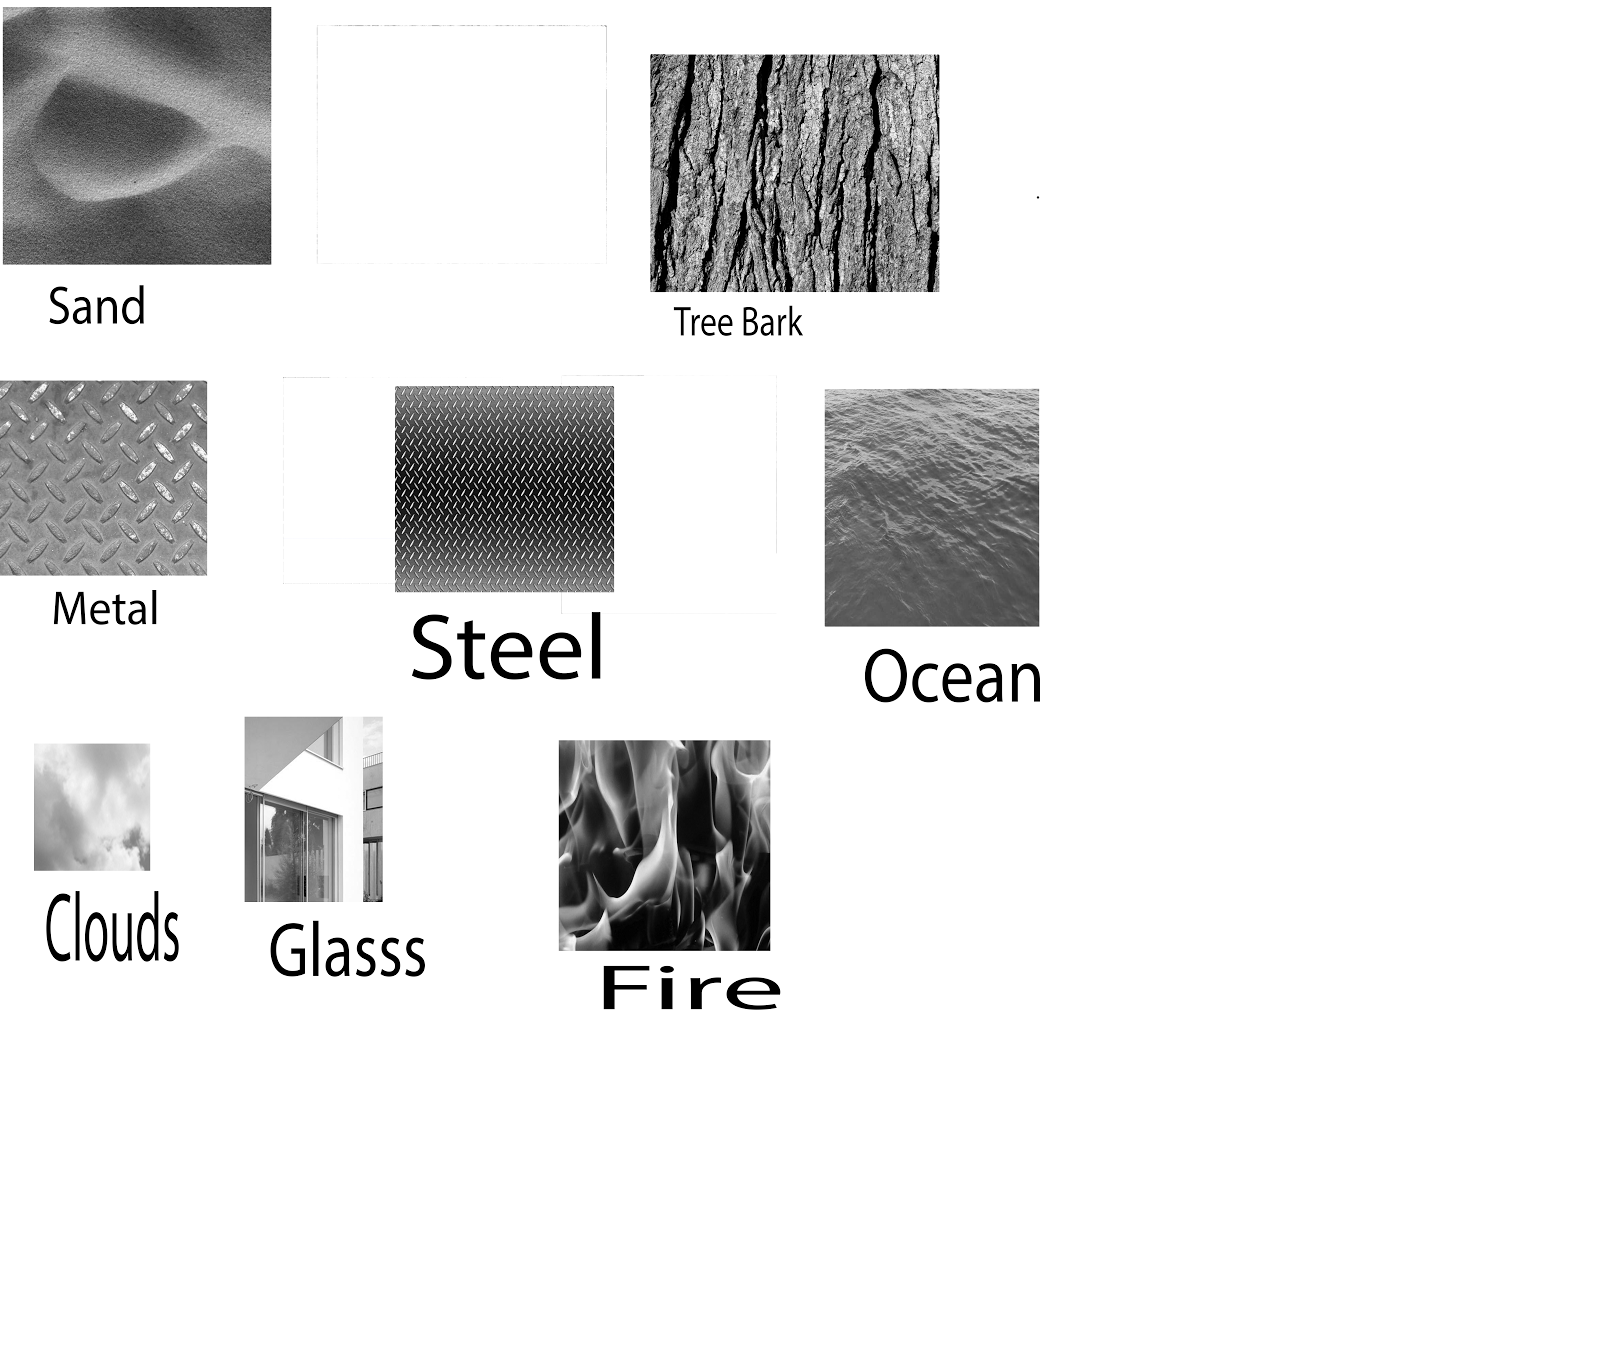
I first did some research to get some ideas for texture. I then decided to make some custom brushes out of sand, ocean, steel, clouds, tree bark, metal, glass, and fire.I first found an image and then i selected it with the marquee tool.I went to edit, define brush preset, and then i went to the brush panel and i chose shape dynamics, scattering, and texture and i moved the controls until i was satisfied with the results. I did pretty much the same thing with the other seven custom brushes.

Thursday, April 11, 2013

Alpha channel

 The first thing i did was i made a selection with my quick select tool. I selected the mountain climber and then i inversed it by hitting control,shift,I. I clicked on my channels tab and then i clicked on the alpha channele button. I saved it as a Targa by clicking save as and then i chose targa 32 Bit. The second one was a quickmask and i selected the sky divers with a quick select tool and then i clicked the quick mask button. I clicked on the channels button and then i clicked on the alpha channel and i saved it as a targa.

Tuesday, April 9, 2013

Textures

 For this project i googled textured walls, so i could get some ideas of what kind of design to make. I created a grey background and then i used the rectangualar Marquee tool to select my design. I double clicked on my layer and the layer styles came up. I chose Bevel and Emboss, stroke and inner glow.The Bevel and emboss i checked the contour and the texture boxes. I then used the Marquee tool to make another selection,and this time i made a thin long rectangle and i gave it a stroke I changed the pattern to something more colorful,and i changed the size to 49. I made another selection and this time i created square. I chose satin and i used dissolve as the blend mode I also changed the distance to 49 and the size to 174. I also chose color overlay and i chose darken for the blend mode and i put the opacity to 62 % I also used gradient overlay and i used diamond as the style.

Photoshop cs 6 includes improved auto adjustment features.

Adobe use to have auto feature for just curves and levels.Now they have auto feature for brightness/contrast.The levels histogram in the new version is a lot smoother. The curve feature now has a single line that you can now manipulate, and the auto curve is easier to use.

Thursday, April 4, 2013

Color Correction

I cut the images out using the quick selection tool and the first image i used was  Brightness/Contrast. i moved the Brightness a little to the left and i moved the contrast a little to th right until i came up with something that wasn,t as dull looking. The next image i used levels so i could put some color in the picture. The third image i used curves. The fourth picture i used Vibrance and i used hue/saturation on the fifth image. I used color balance on the sixth image and the 7th.,8th, and 9th. image i decide to use the Channel mixer, Black and white and exposure.

Tuesday, April 2, 2013

Cutting images out

I first worked on the bird. I selected it with the selection tool. I then hit inverse and i clicked on refine edge. I played around with the smooth,radious,contrast,shift edge for a little while until i ended up with something i liked. I then worked with the buffalo and i basically did the same thing except i didn,t have to use the contrast that much. The Hair was a problem so i decided to use the polygon lasso tool to try and capture every part of hair and then i used refine edge on it and i gave her a yellow background.